I can´t remember ever doing paper weaving before. Makes me wonder what I was doing as a kid? I guess I was outside playing in the snow? Hiking mountains? Cycling along the coast? Fishing at the harbor? Something along those lines. I feel a little like I missed out as a kid but I´m making up for it now. I´ve made so many of these this week.
Paper weaving, is an under and over creative process, which will teach your child the basics of patterns, opposites and colors. It will improve their cutting skills and fine motor skills. It´s also a fun and creative way to spend your time.
While you and your child make this project together you can talk about what objects in your home have been made with the same process (carpets, blankets, towels, fabrics etc).
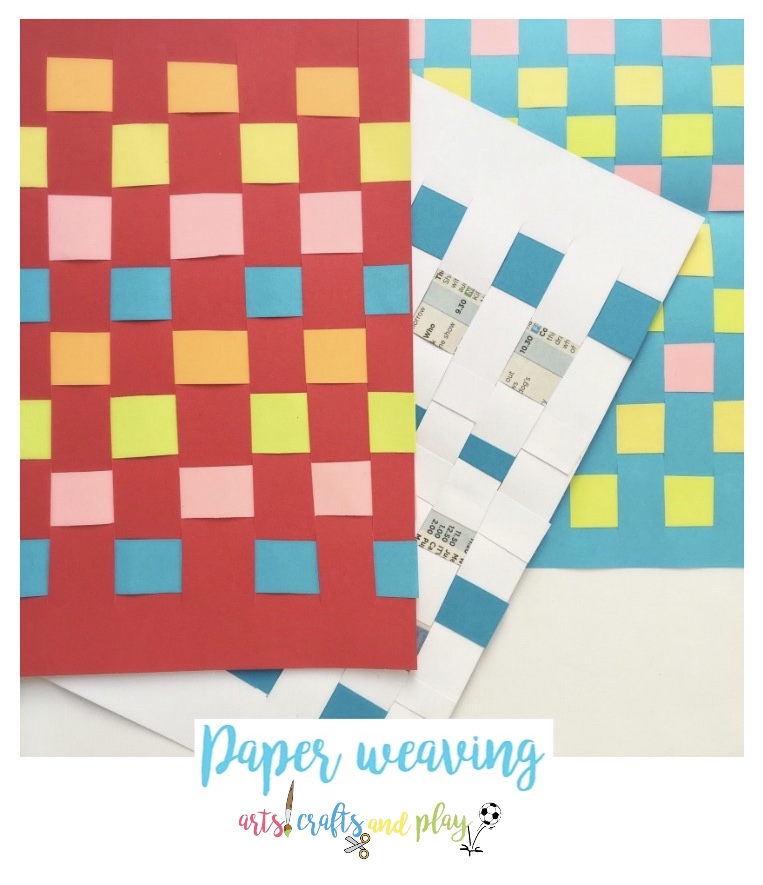
Cut the construction paper and magazine into strips. You can make them all the same size or a variation. It depends on what pattern you are going for. They don´t have to be exact! Imperfections give the paper weaving a more of a charm. Choose the base colour paper and fold the paper in half. Use the ruler to draw lines from the fold to about 1.5cm away from the edge. Then cut the lines with scissors, making sure not to cut all the way through. (You can also skip the drawing of the lines and cut freehand (see white paper in picture below). Weave a strip of paper through the cut paper, and repeat with another strip the opposite way you started. Older kids should be able to do all the steps themselves with your watchful eye of course. Younger kids however, will most likely have to be guided through the whole process, including the cutting with the scissors and weaving the strips of paper through the cut paper. Paper weaving
Ingredients
Instructions
Notes

I love making these galaxy bottles.