I did try this activity before and I didn’t think it turned out very good but today I’m giving it another go. I made marble artwork last week and I thought the pictures were perfect for this project.
I made a weaving blog post a few years ago and what we are doing is similar. I’m making this a bit easy for you as I’m assuming you don’t need to improve your fine motor skills. LOL.
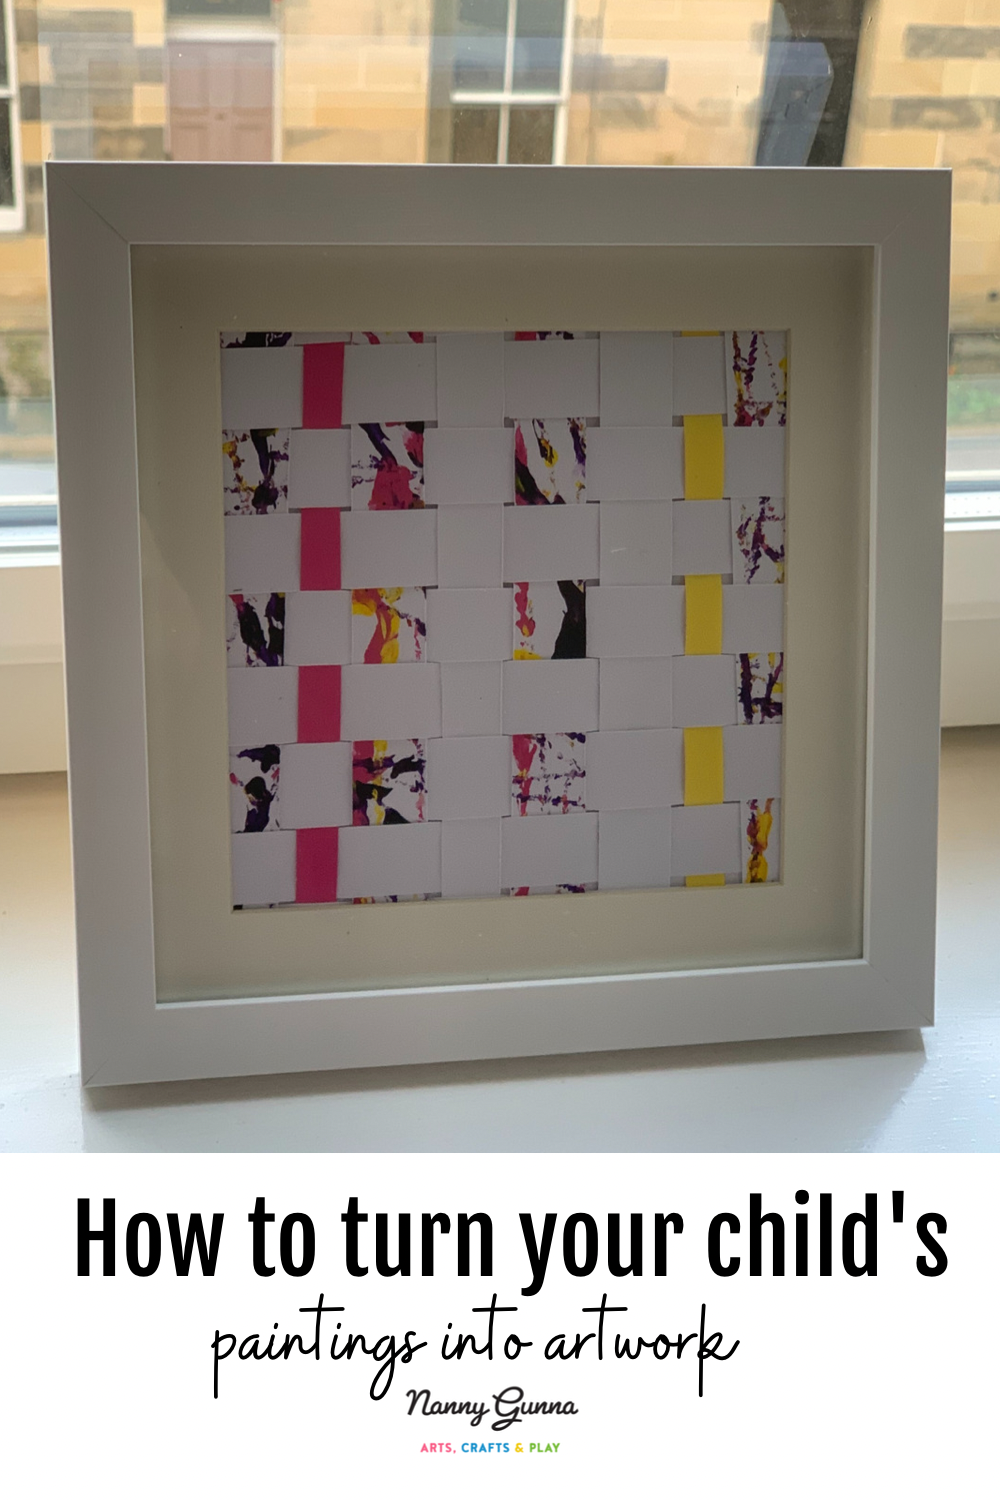
Start by cutting paper base layer to the same size as the frame. Then it's time to cut the weaving paper into strips. I chose white paper for horizontal and paintings, pink and yellow paper for vertical. There are no rules, you can mix and match as you wish. I just wanted a white base that's why I used white paper. Black paper will look very cool too. Or you can use your child's paintings for both? All the paper was cut 2cm except the pink and yellow paper was 1cm. I hope that is clear? There is a video you can watch if I'm not explaining this well enough. Line white strips at the top of the paper base layer and secure them with tape. Then weave a strip of paper through the cut paper, and repeat with another strip the opposite way you started. This is when you can get creative! When all the weaving is done cut the edges off and lay into the frame. Put the back on and turn around to have a look at your amazing weaving artwork.How to turn your child's paintings into weaving artwork
Ingredients
Instructions