When I was about 7 year old my father gave me a weaving loom. I loved it. I still have some of the creations that I made.
Therefore, when I made these cardboard circles, I thought the whole time, I would have loved this activity as a little girl. LOVED it!
I did not have to buy anything for this cardboard circle weaving project. I had cardboard, yarn and beads. If you need to buy multipacks of yarn, these three places are a good place to look; the flying tiger, the works and hobbycraft.
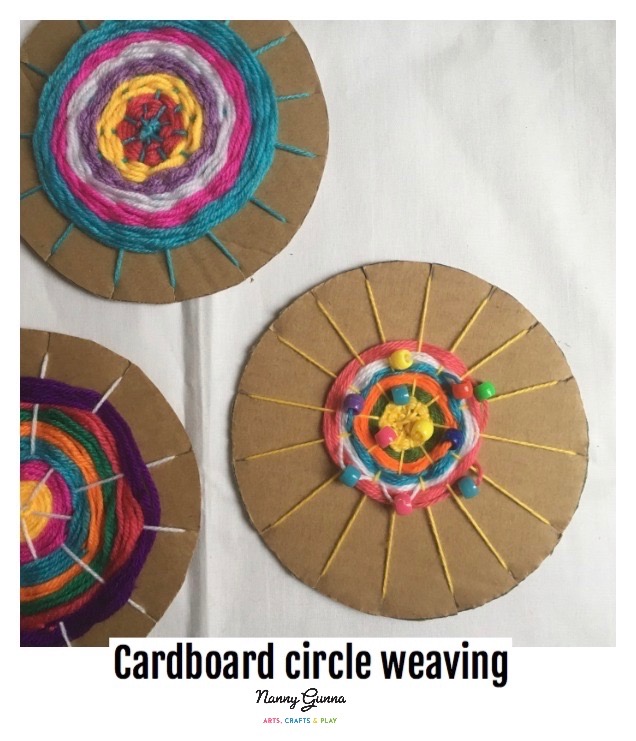
Cardboard circle weaving
Ingredients
- Cardboard
- Yarn (different colours and thickness)
- Pencil
- Tape
- Scissors
- Beads
Instructions
Find a circular object and place it on top the cardboard and trace around it. Then cut out the circle.
Mark out on your circle where you will cut a notch. You can use a ruler if you want it to be very precise. I marked 12, but you can have it an odd number, which will give the weave a different design.
Cut a tiny notch into each mark.
Thread the yarn through a notch at the back and tape the end down. Run the yarn across and then to the adjacent cut. Repeat until you have finished with the circle and tape the yarn down. You can write down the numbers so it is easier for your child to follow.
Tie the yarn to the centre, cut about 20-30cm long piece and tread the needle.
Then you use the needle to go over and under through out the circle.
When changing the colour, simply tie the next colour onto your last one.
You can add beads at anytime through out the weaving.
Photo demonstration! Yay!


Yarn wrapped letter